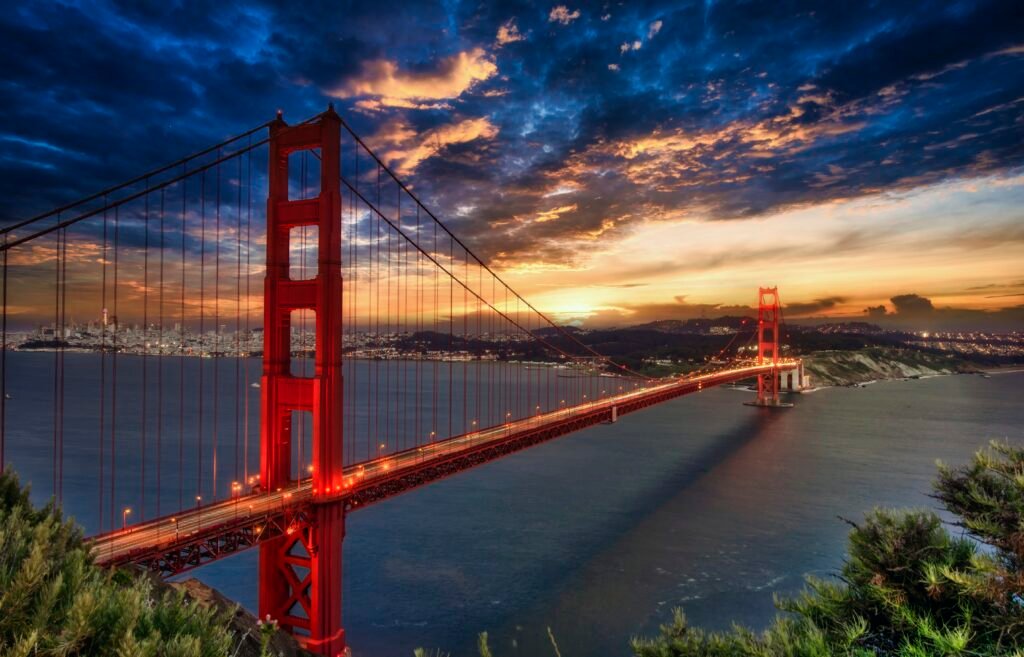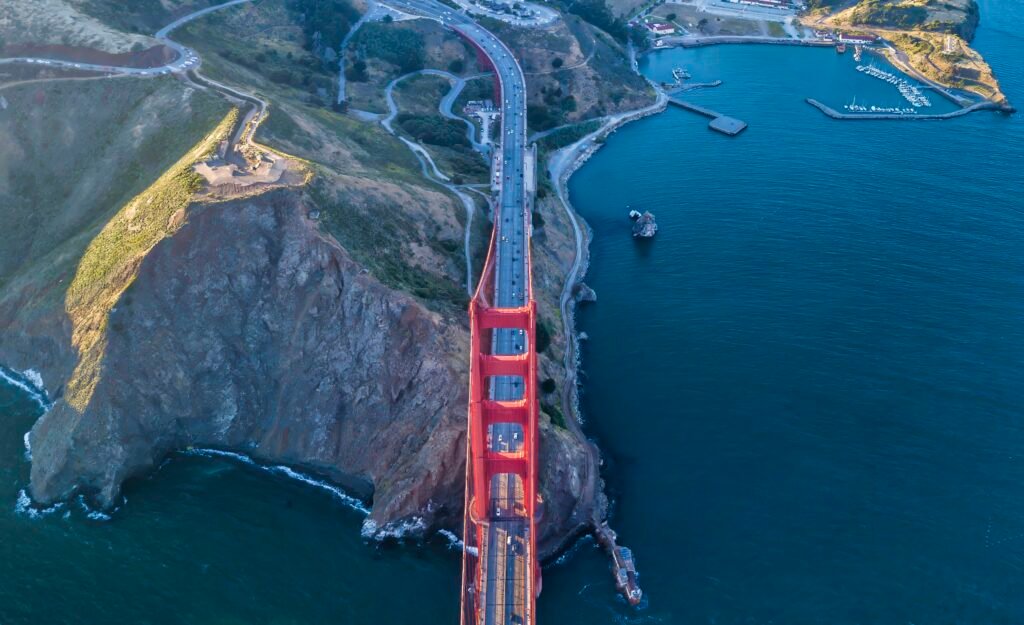
Post-processing plays a vital role in bringing out the full potential of your landscape and macro photos. While the goal is often to keep images natural and authentic, digital editing can enhance the finer details, colors, and composition in ways that help you communicate your artistic vision. Whether you’re capturing the grandeur of a landscape or the intricate details of macro subjects, here are essential post-processing tips to elevate your photography.
1. Start with RAW Files
Always shoot in RAW format for both landscape and macro photography. RAW files contain more data than JPEGs, which gives you greater flexibility in editing without losing image quality. It allows you to make significant adjustments to exposure, white balance, and shadows without introducing artifacts or noise.
Benefits of RAW for Landscape and Macro:
- Recover blown highlights and lost shadows more easily.
- Fine-tune colors with precision.
- Enhance detail without degrading quality.
2. Adjust Exposure and Contrast
Getting the right exposure in-camera can be challenging, especially in high-contrast scenes. The exposure and contrast adjustments are your first step to balancing the overall image.
For Landscape Photography:
- Expose for the Sky and Shadows: Landscapes often have both bright skies and darker foregrounds. Use exposure adjustments to balance these extremes.
- Boost Contrast: Add contrast to emphasize textures in rocks, trees, and mountains, and to give your image more depth.
For Macro Photography:
- Focus on Subject Detail: Increase exposure on your macro subject to bring out its fine details.
- Use Contrast to Separate Subject and Background: Enhancing contrast around your subject can make it stand out against a blurred background.
3. Adjust White Balance for Natural or Creative Tones
White balance is crucial in both landscape and macro photography, as it sets the mood and color temperature of your image.
For Landscape Photography:
- Correct for Time of Day: For sunrise or sunset shots, keep the warm golden tones intact by adjusting the white balance to a warmer setting. For midday shots, a cooler temperature might reduce the harshness of the light.
- Create Drama with Color: If you want to enhance the mood, try slightly shifting the temperature. A cooler blue tone can evoke a calm, moody atmosphere, while a warmer tone emphasizes the golden hues of sunlight.
For Macro Photography:
- Accurate Color Representation: When capturing flowers, insects, or other close-up subjects, ensure the white balance accurately reflects the colors of your subject. This is particularly important for subjects like flowers, where color vibrancy is key.
- Creative Use of White Balance: Slight adjustments in the color temperature can bring out cooler greens or warmer pinks, depending on the mood you want to create.

4. Enhance Colors with Saturation and Vibrance
Color plays a key role in making your images visually compelling, but oversaturating can quickly make them appear unnatural. Use the saturation and vibrance sliders wisely to boost colors.
For Landscape Photography:
- Boost Vibrance: Increase vibrance slightly to bring out the colors in the landscape, particularly in skies, water, or vegetation, without oversaturating the image.
- Selective Color Adjustments: In some cases, you may want to selectively enhance specific colors. For example, deepening the blues in the sky or intensifying the greens in forests can add visual impact without over-processing the entire image.
For Macro Photography:
- Subtle Saturation for Delicate Subjects: Macro subjects often have fine color details, so be careful not to over-saturate. Subtle increases in saturation can enhance flower petals or insect wings.
- Selective Color: Highlighting a single color within your macro shot while desaturating the background can create a striking, minimalist effect.
5. Sharpen and Enhance Details
Sharpness is critical, especially for macro photography, where fine details define the image. In landscapes, sharpening adds texture and clarity to elements like rocks, trees, and distant mountains.
For Landscape Photography:
- Selective Sharpening: Focus sharpening on areas with intricate details, such as mountain peaks, trees, or water reflections. Avoid over-sharpening the sky, which can introduce noise or haloing.
- Clarity Slider: The clarity adjustment is useful for increasing mid-tone contrast and can make landscapes look crisper without affecting the entire image. However, too much clarity can make an image look artificial, so use it sparingly.
For Macro Photography:
- Focus on the Subject: In macro shots, selectively sharpen the subject to bring out its details while keeping the background soft and out of focus.
- High Pass Filter: For maximum sharpness, use the high pass filter technique in Photoshop or other editing software. This method allows you to sharpen only the edges without affecting the overall image.
6. Manage Noise and Grain
Noise can be a problem, especially in low-light conditions or when using higher ISO settings. It’s important to reduce noise while preserving the details of your image.
For Landscape Photography:
- Noise Reduction in the Sky: The sky can often show noise, especially in nighttime or long-exposure shots. Use noise reduction tools to smooth out the sky while keeping the rest of the image sharp.
- Balance Detail and Noise: Too much noise reduction can make an image look blurry. Strike a balance between noise removal and maintaining texture in the landscape.
For Macro Photography:
- Isolate the Noise: Noise in macro photography often shows up in out-of-focus backgrounds. Reduce noise in the background to create a smoother bokeh effect while preserving sharpness in the subject.
- Avoid Over-Processing: Overusing noise reduction can reduce the fine details that make macro images pop, so apply it cautiously.

7. Crop and Recompose
Cropping allows you to improve the composition of your photo by eliminating distractions or adjusting the focus. It’s also helpful for enhancing the framing of both landscape and macro images.
For Landscape Photography:
- Enhance the Composition: Use cropping to adhere to compositional rules like the rule of thirds or to remove unwanted elements at the edges of the frame.
- Change the Aspect Ratio: Adjusting the aspect ratio can turn a landscape photo into a panoramic shot or focus the viewer’s attention on the most compelling part of the image.
For Macro Photography:
- Crop for Emphasis: Use cropping to bring more attention to your subject and fill the frame with the intricate details of your macro shot.
- Eliminate Distracting Elements: Since macro photography involves extreme close-ups, even the smallest distractions in the background can detract from the subject. Use cropping to remove unwanted elements.
8. Experiment with Focus Stacking
Focus stacking is a technique where multiple images taken at different focal points are combined to increase the depth of field, which is especially useful in macro photography.
For Macro Photography:
- Blend Images for Maximum Sharpness: Combine several photos taken at different focus points to create one image where the entire subject is sharp from front to back. This is especially useful for macro subjects like insects or flowers, where a shallow depth of field can leave parts of the subject out of focus.
For Landscape Photography:
- Extended Depth of Field: Use focus stacking to maintain sharpness from the foreground to the distant background, especially in scenes where both areas contain important details.
9. Dodge and Burn for Emphasis
Dodging and burning techniques allow you to selectively lighten or darken areas of the image, helping to direct the viewer’s attention.
For Landscape Photography:
- Add Depth: Use burning (darkening) to enhance shadows in the landscape, and dodging (lightening) to bring out highlights, such as sunlight hitting a mountain or waves catching light.
- Create Drama: Add subtle contrast between different areas of your image to increase the sense of depth and dimension.
For Macro Photography:
- Highlight the Subject: Use dodging to subtly brighten your subject, making it stand out from the background, while using burning to darken less important areas.
- Enhance Textures: Lightly dodge and burn to bring out textures in your macro subjects, such as the veins in a leaf or the patterns on an insect.
Post-processing plays a crucial role in refining and enhancing landscape and macro photographs. By carefully adjusting various parameters, you can bring out the best in your images and create stunning visuals. Here are some essential post-processing tips:

Common Adjustments:
- Exposure: Adjust the overall brightness or darkness of the image to balance the highlights and shadows.
- Contrast: Enhance the contrast to make details more prominent and create a more dramatic look.
- Color: Adjust the saturation, hue, and vibrancy to enhance or modify the colors in your image.
- White Balance: Correct the white balance to ensure neutral colors and avoid color casts.
- Clarity: Increase clarity to add definition and sharpness to details.
- Noise Reduction: Reduce noise, especially in low-light images, to improve image quality.
- Sharpening: Apply sharpening to enhance edges and details, but be careful not to overdo it.
Landscape Photography-Specific Adjustments:
- HDR: Use HDR techniques to combine multiple exposures and capture a wider dynamic range, especially in high-contrast scenes.
- Sky Replacement: Replace dull skies with more dramatic ones to enhance the overall composition.
- Lens Corrections: Apply lens corrections to address chromatic aberration, vignetting, and distortion.
Macro Photography-Specific Adjustments:
- Focus Stacking: Combine multiple images with different focal points to achieve a greater depth of field and ensure everything is in focus.
- Color Adjustment: Fine-tune the colors of small subjects to enhance their details and vibrancy.
- Clarity and Sharpening: Apply careful sharpening to emphasize the intricate details of macro subjects.
Additional Tips:
- Start with a RAW File: Shooting in RAW format gives you more flexibility and control during post-processing.
- Use Layers: Work with layers to make non-destructive adjustments and easily undo changes.
- Experiment and Practice: Don’t be afraid to experiment with different settings and techniques to find your own style.
- Consider Post-Processing Software: Explore various post-processing software options like Adobe Lightroom, Adobe Photoshop, or Capture One to find the best tool for your needs.
By mastering these post-processing techniques, you can transform your landscape and macro photographs into stunning works of art that capture the beauty of the natural world.


